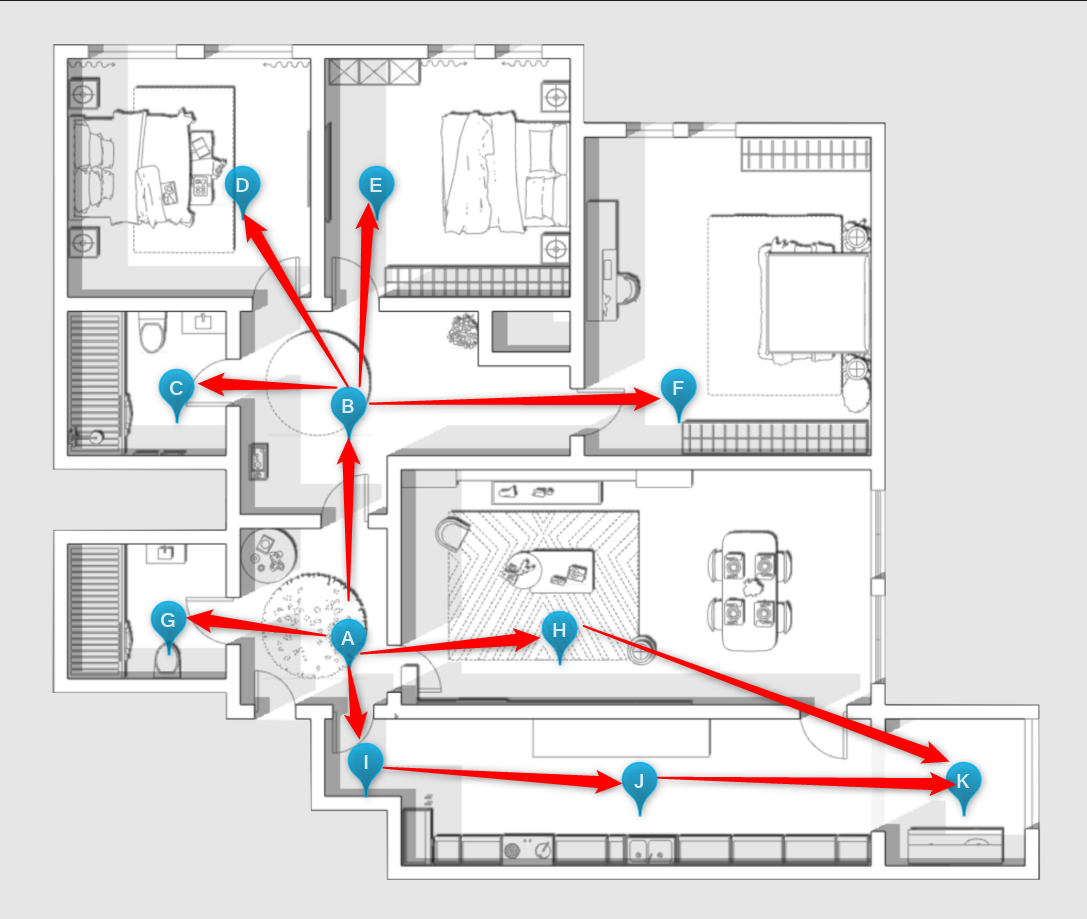
By including a plan in the Tour, you can place in these points that represent the different panoramas of the space.
- In the side menu you will find the Plants option and there you can upload the Tour plan(s);
- When the plant is loaded, it will automatically move to the plant edit menu;
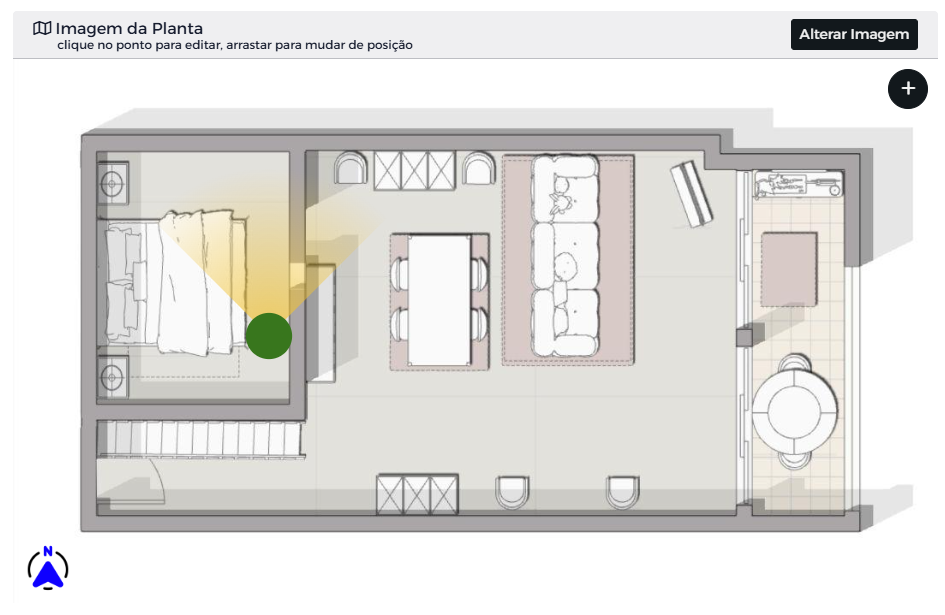
- Click on the + symbol to add a point on the plan that will represent the respective panorama;
- Drag that point to the appropriate position;
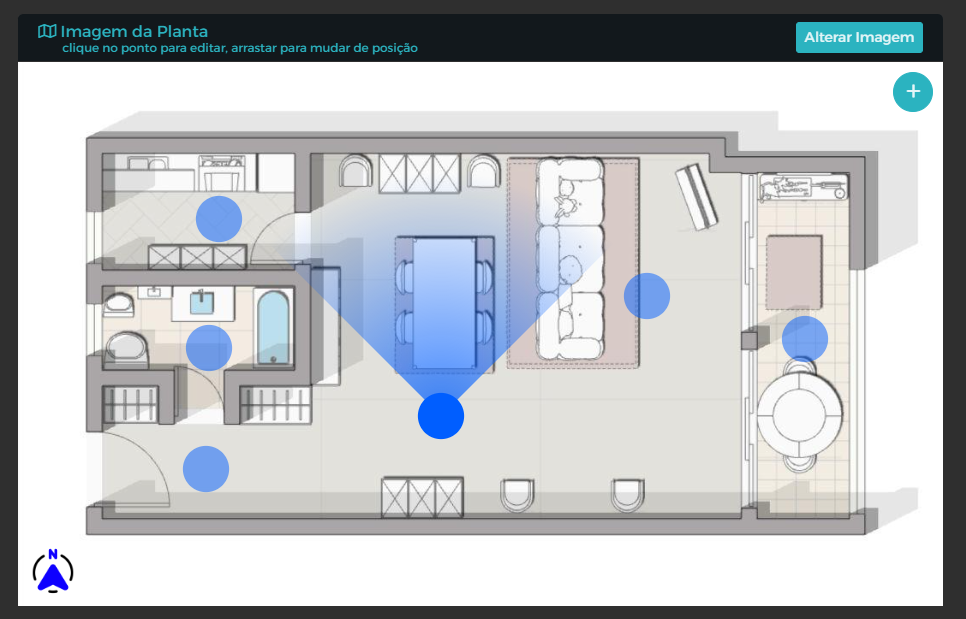
- Repeat the process for the panoramas present in the plant.
After the process of putting the dots on the map, it is necessary to reference the direction/direction of the panoramas (unless you have already done so) so that the compass correctly shows where each panorama is pointing.
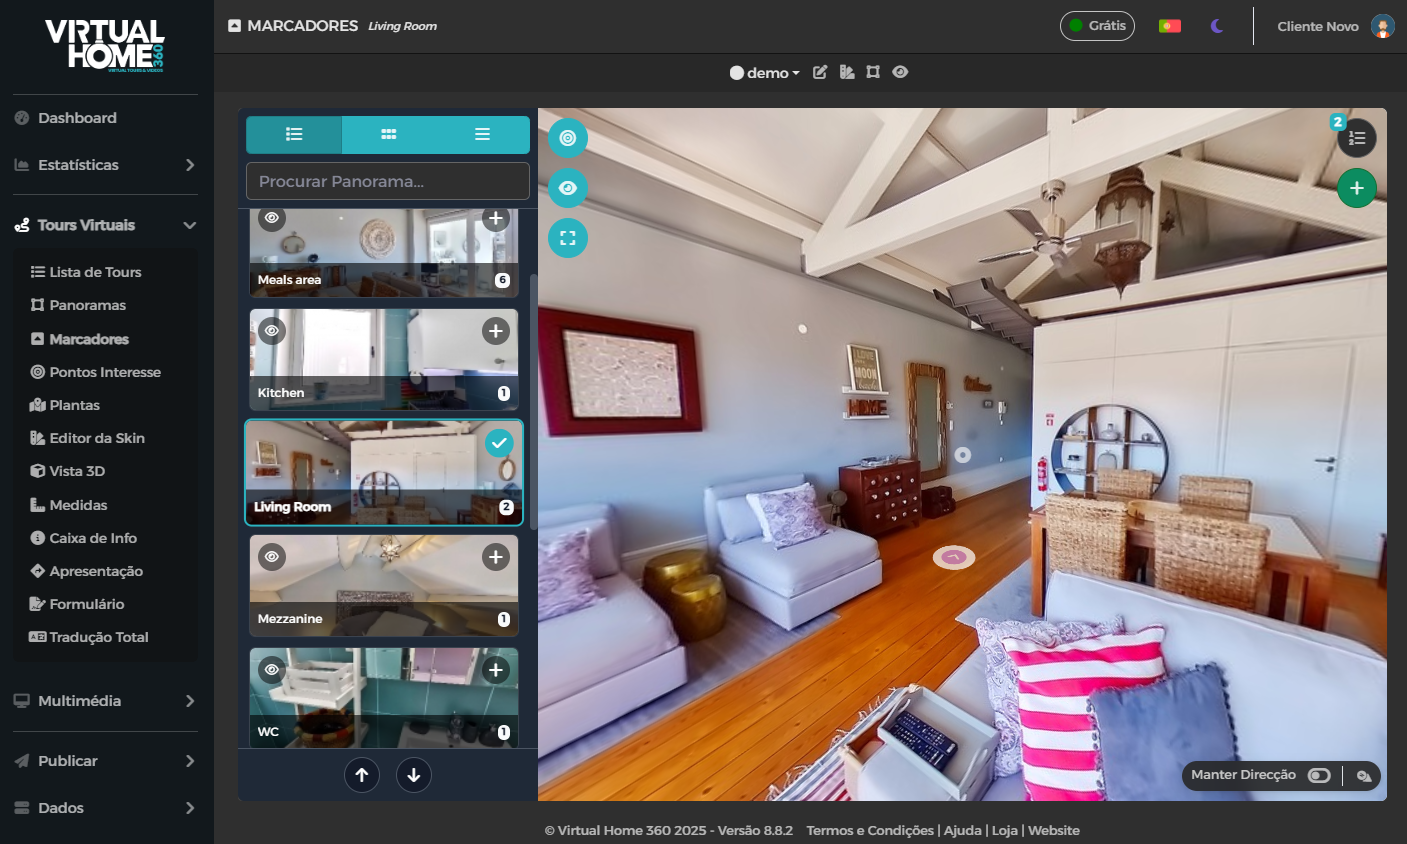
- In the panorama editing menu, in the section View and on the first tab the North of the Plant, under the view of the panorama you will find the option the North Compass with the button Define;
- When moving the panorama we can see that there is the reference of the direction of direction in the plan below;
- Point the panorama to the northern cardinal and click on Define for the compass to update the new direction;
- Repeat the same process for all panoramas that have points on the plant;
- Do not forget to save these settings using the button Save which is at the top of the page.
Once you have updated the north in all the panoramas present in the plan, you can see the final result in the Tour.
By definition, the plan is visible in the tour style settings.
Can turn the plant on and off in the icon on/off plant which is placed in the top right corner of the Tour.
In addition to offering a better sense of direction and space to the user, the user can also navigate the Tour by loading at the various points of the plant.